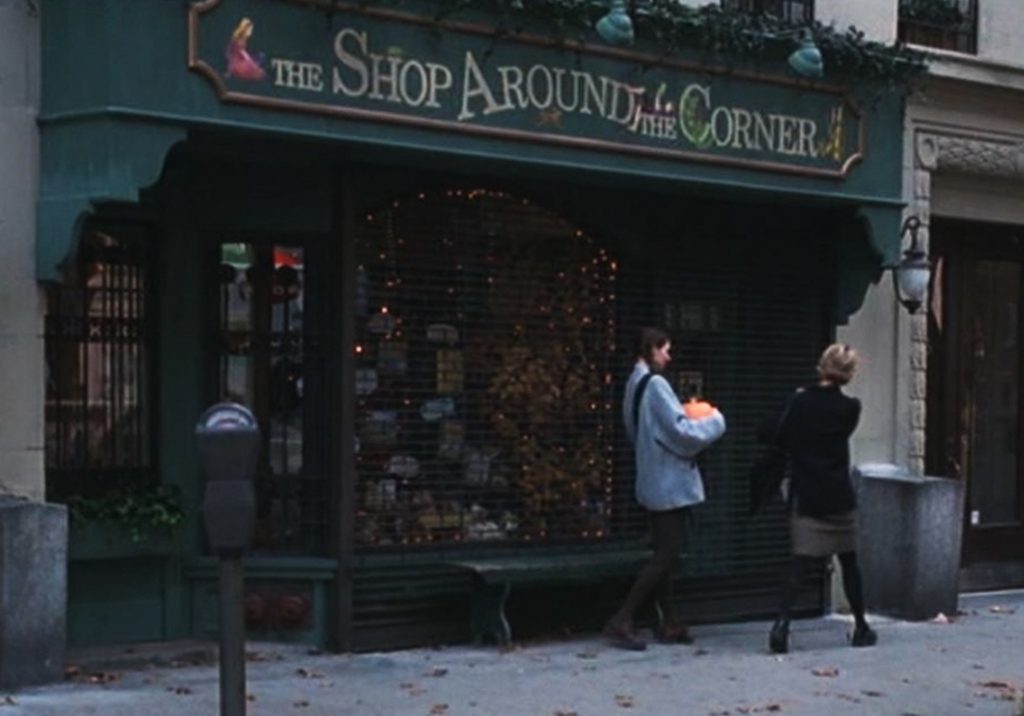
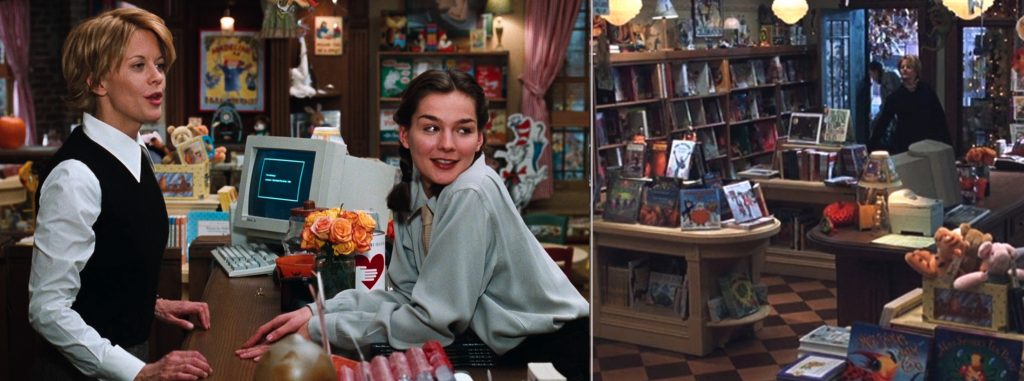
18-year-old me vividly remembers watching You’ve Got Mail for the first time, and every time watching it (many, many times) since, I still feel that jubilation inside, for the tiniest of details, but most of all the magic that lived within the walls of Kathleen Kelly’s “The Shop Around the Corner.” I hope I gave people some of that magic within the pink walls of my old shop, Lovely Somethings. And rewatching this, I know why people think all we did was twirl around the store all day, but rewatching it also reminded me of the harsh reality of retail in this world of ours, that actually feels exactly the same as it it did then. But for one Sunday evening it was time to snuggle in, snack, and enjoy one another…
This night of ours, with a small group of friends, came about because Joy and I send each other a million IG reels. One of which being someone else throwing a You’ve Got Mail party. Basically it was a bunch of fall foods on a dining table and she hung a paper sign above it. Simple. Effective. Truth be told, a week before my party, I had pretty much forgotten about the party. And the moment I did remember, all I thought was UGH, work. I texted my friends with basically that sentiment, saying come over in your pajamas and I’ll order pizza. Thank god for group text threads. They without intending, instantly pumped me up! Valerie volunteered to bring something, and if she was going to make an effort, I certainly can/should. So I scrolled back through mine and Joy’s million forwards and found the reel. Lol. I don’t think I took anything directly from it aside from the idea for having a sign, BUT it did get my wheels turning and once that happens, watch out…
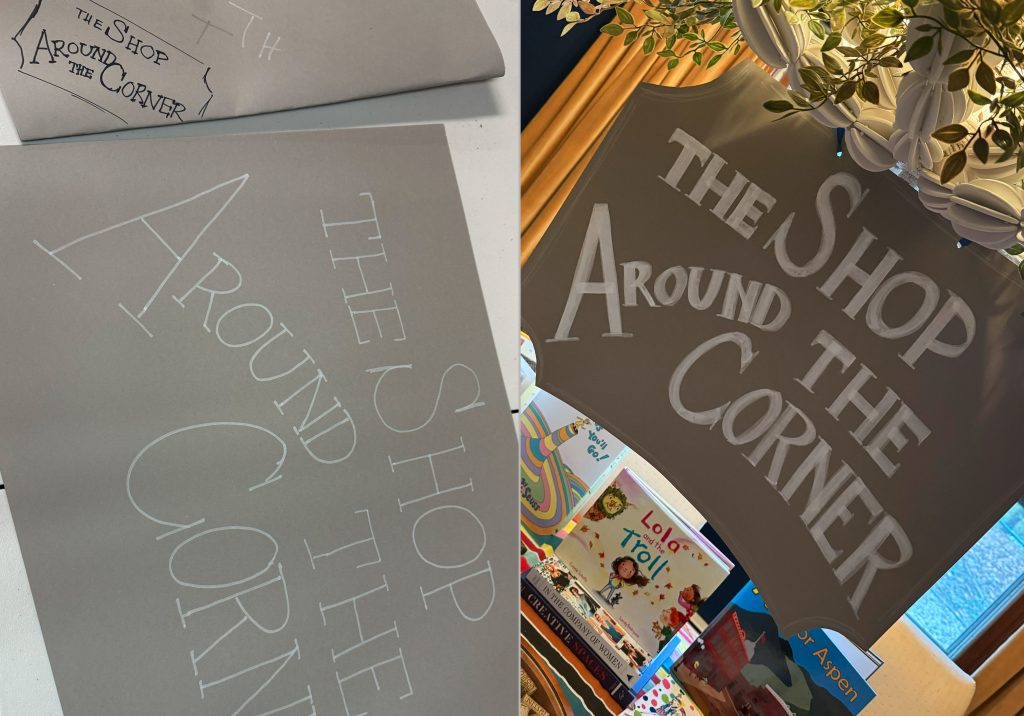
My first step was sketching out a sign, a fun task in our almost finished crafting area. And once that was hung, things started to fall into place. I ran down to our family room’s built-in bookcases and grabbed my favorite children’s books that I’ve collected over the years (special shout outs to my Madeline pop-up book; Connie Schultz’s Lola and the Troll; and Madonna’s The English Roses, illustrated by family friend Jeffrey Fulvimari) and displayed them as a backdrop on the table to echo Kathleen’s displays in the shop.
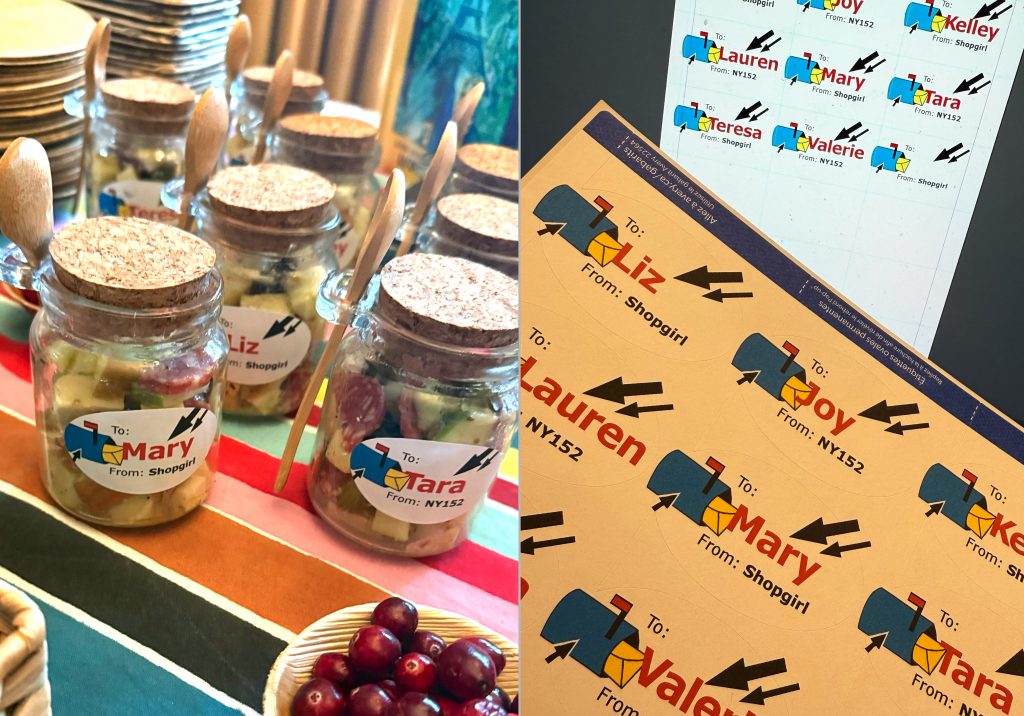
The heroic Val came up with this adorable idea, to make “Jarcuterie” so each person could have a little glass jar to add to their plate and munch on throughout the movie. BONUS! It was INSANELY delicious, so much so that I’m about to make a batch of it just for me, to eat throughout this week. She asked me to design some name labels for the bottles, so I had to get themey. Can you hear the AOL sounds? The whirring, then the chimes, then…. You’ve Got Mail! For the labels, I used Avery’s matte white Oval Labels 22564. In fact, I made a sheet of designs without everyone’s names, but don’t worry they still read From: Shopgirl and NY152, that you can download, then just throw on your own names, digitally or write them on.
Jarcuterie
1/4 cup extra virgin olive oil
3 tablespoons apple cider vinegar
1 tablespoon honey
1 tablespoon whole-grain mustard
1/4 teaspoon freshly ground black pepper
1/4 teaspoon kosher salt
1 garlic clove, grated
1 Granny Smith apple, chopped
1 Honeycrisp apple, chopped
6 ounces white sharp Cheddar cheese, cubed (Val used Aldi’s Vermont White Cheddar)
1 cup salami, cut into half moons
1 cup cornichons (Val used Aldi’s spicy ones)
2 tablespoons finely chopped shallot
1/3 cup dried cranberries
1/3 cup walnut halves (Val used pecans as I’m allergic to walnuts)
individual jars or a big jar
labels if you’re being cute
- Whisk together oil, vinegar, whole grain mustard, honey, pepper, salt, and grated garlic in a bowl until well combined.
- In a large bowl, mix together apples, Cheddar cheese, salami, cornichons, shallots, cranberries, and nuts until evenly combined. Drizzle with prepared dressing until well coated. Transfer mixture to a large jar with a lid. Shake and store in the refrigerator for up to 5 days or until ready to serve. (no one has had any left by the time day 5 rolls around, lol!)
I posted about my love for the brilliance of freshly washed cranberries, so once I finished making the whipped feta dip, below, I tossed the remainder in little bowls for color throughout the table, and Joy took the extra raw ones home to make something else.
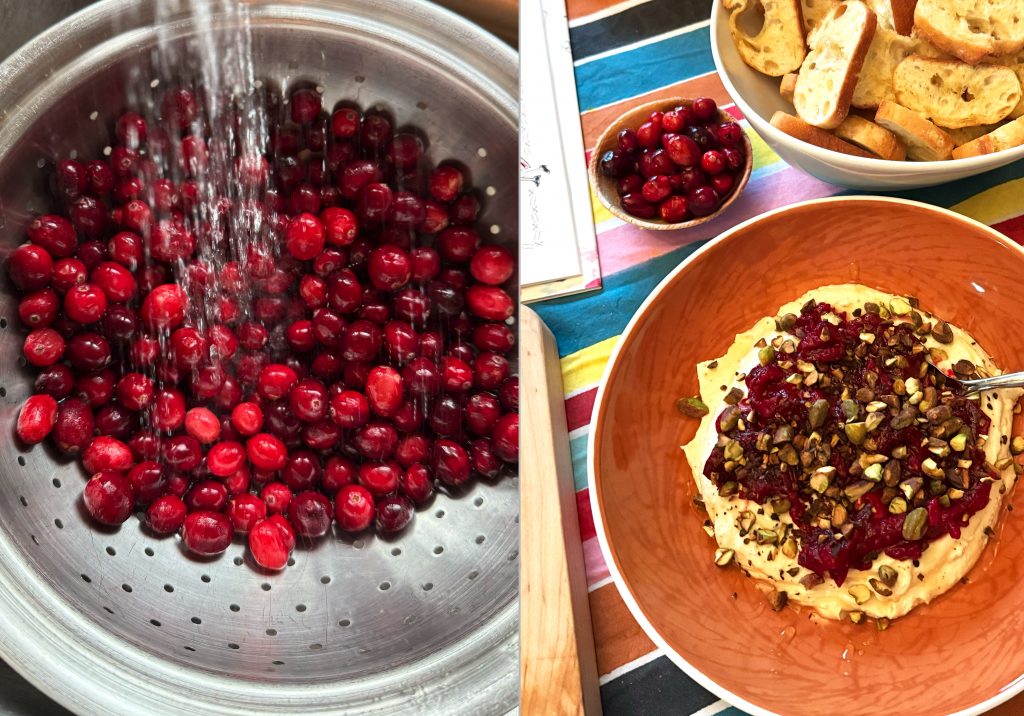
Cranberry Whipped Feta Dip
1/3 cup fresh orange juice, plus 1 tsp. finely grated orange zest
2 tablespoons honey, divided
1 cup fresh or frozen cranberries
1 sprig thyme, plus 2 tsp. chopped thyme leaves
6 ounces feta in brine, cut into small cubes (the package I had was 8 ounces, so I used all of that)
1 clove garlic, grated or minced
1/4 teaspoon crushed red pepper flakes
6 ounces cream cheese, room temperature (here too, the package was 8 ounces, so I used it all)
2 tablespoons extra-virgin olive oil (since I used extra cheese, I upped this some, until I like the consistency)
2 tablespoons toasted chopped pistachios
Crackers or crostini, for serving (I sliced and toasted baguettes, plus had gluten free buckwheat crackers)
- In a small saucepan over medium heat, whisk orange juice and 1 tablespoon honey until combined, then bring to a boil. Add cranberries and thyme sprig and return to a boil. Reduce heat to medium-low and cook, stirring occasionally, until cranberries burst and become saucy, 7 to 8 minutes. Remove thyme and stir in orange zest. Let cool.
- Meanwhile, drain brine from feta. In a food processor, pulse feta, garlic, red pepper flakes, and chopped thyme until feta is broken up into small crumbs. Add cream cheese and pulse until combined. With motor running, drizzle in oil and blend until mixture is smooth and fluffy.
- Transfer whipped feta to a serving bowl. Top with cooled cranberry sauce. Sprinkle with pistachios and drizzle with remaining 1 tablespoon honey. Serve with crackers alongside.
- Make Ahead: Dip can be made 4 days ahead. Transfer it to separate airtight containers and refrigerate. Wait to top it with your cranberry sauce and pistachios until right before serving.
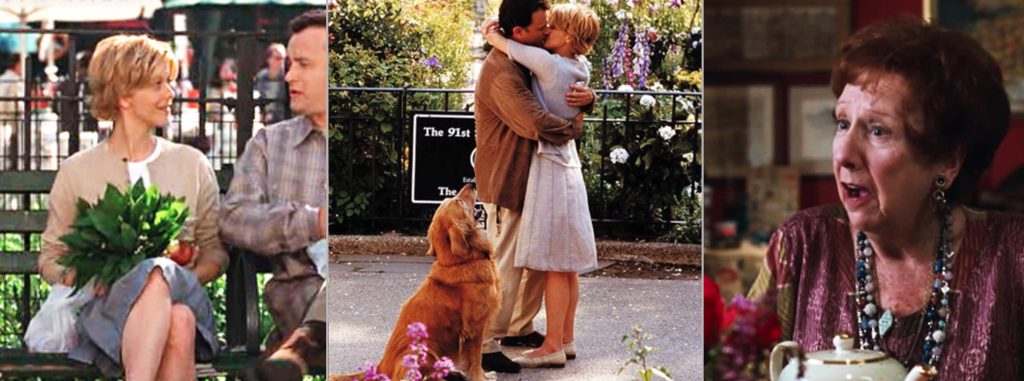
I got a big kick out of how someone would bring up Meg Ryan’s outfits in every scene, loving them. I don’t disagree, but I’m sure the us-es back in 1998 weren’t excited about the Talbots/Ann Taylor-esque ensembles. And someone wisely suggested, and you should try it, take a drink every time Meg Ryan has a turtleneck on. And while of course Meg is adorable, her mom’s friend Birdie, will always have my heart with her massive jewels.
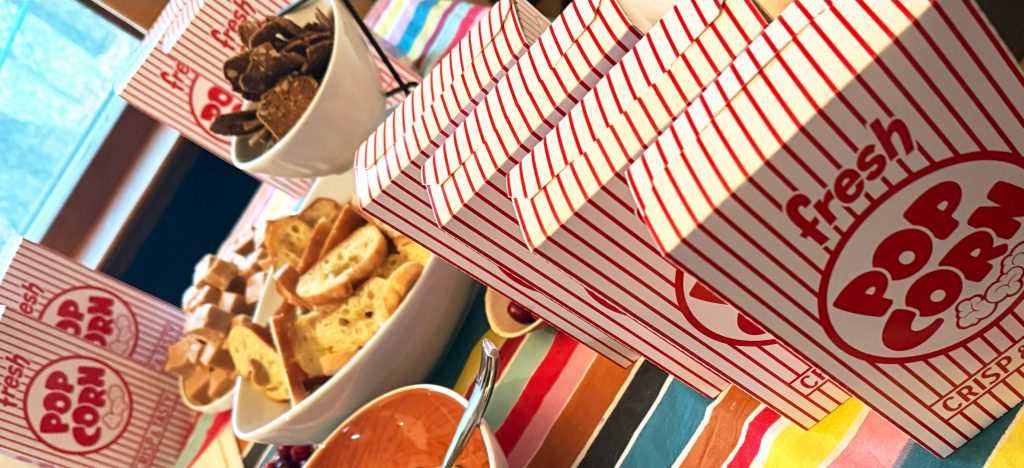
The boxes of popcorn served as a great height/visual backdrop on the table, plus everyone wandered upstairs to grab a box midway through the movie once they were done snacking on the other (and yes, I did get pizza, too – we love Decheco’s)
Pumpkin Spice Popcorn a la Val
3 cups of popped popcorn (you can pop it yourself at home, or buy already popped PLAIN popcorn)
3 tablespoons butter
1/4 cup sugar
2 tablespoons water
1/4 cup dark corn syrup (if you only have light corn syrup, that’s fine)
1/4 teaspoon vanilla extract
1/4 teaspoon salt
1 teaspoon pumpkin pie spice
1 cup m&m minis
1 cup peanut m&ms
apple chips
parchment paper
popcorn boxes
- Preheat oven to 300F and line two baking trays with parchment paper. Set aside.
- Place the popped popcorn in a bowl. Set aside.
- Place the butter, sugar, corn syrup, water, vanilla extract, salt, and pumpkin pie spice in a saucepan and melt over medium-low heat and stir until sugar is dissolved.
- Slowly pour the melted butter and pumpkin spice mixture over the popcorn; toss with a spoon until the popcorn is fully coated.
- Pour the covered popcorn onto one of the prepared baking sheets and bake in a preheated oven for 12 minutes, stirring every 4 minutes.
- Remove and leave to cool for 30 minutes
- Once cool, in a large bowl, combine the popcorn, m&ms, and apple chips. Toss and portion into your popcorn boxes.
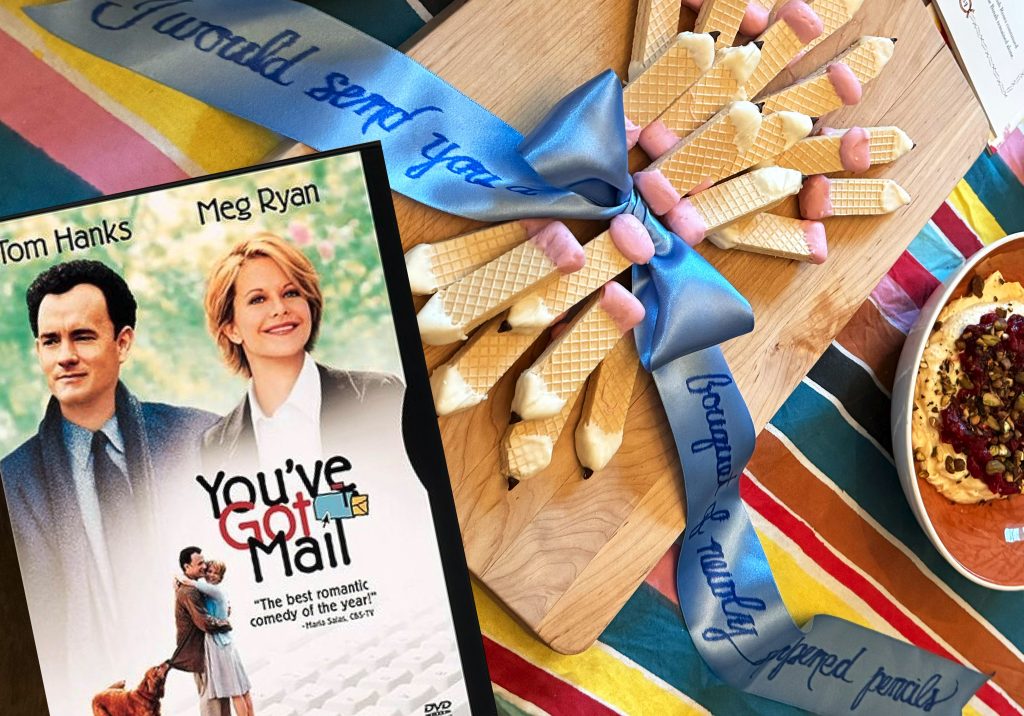
The pencil cookies were my visual all-star. I had snapped screenshots from an old reel of the pencil cookies, and had to search back through my phone, as I knew it would come in handy one day. So naturally I needed to arrange them in a bouquet of newly sharpened pencils! I won’t tell you the number of times I considered rewriting the quote on the ribbon as I was dissatisfied with it becuase of the bleeding, but what’s that other quote, “perfect is the enemy of good,” or something like that?!
Pencil Cookies
1 package of vanilla wafer cookies (the more yellow-y the better)
1 package of white chocolate chips
1 package of mini chocolate chips
red food dye
- Cut both corners off of one end of each cookie. Be sure to leave a dull point at the end, don’t have your cuts meet, so that you have a flat tip to eventually add the chocolate chip.
- Melt your white chocolate in the microwave. You won’t need much, start with a cup of white chocolate chips. I read that you should melt it at 50% power, and just keep an eye on it. I found that i took it too far and it seezed up, but if i kept stippring it by hand it softened. A double boiler may work better. I admit i was frustrated that I couldn’t get the choclate thing enough to cover smoothly.
- Dip the pointed end of the cookie into the melted white chocolate. Shake it a bit, and place a mini chocolate chip on the tip, to signify the graphite. Set on a cookie drying rack.
- Now add a small amount of red food coloring to the white chocolate and stir until you get a pink that pleases you. Dip the opposite end into the pink mixture, again shake a bit, and again place on the drying rack. I made these the day before and kept them in the fridge – I preferred them chilled.
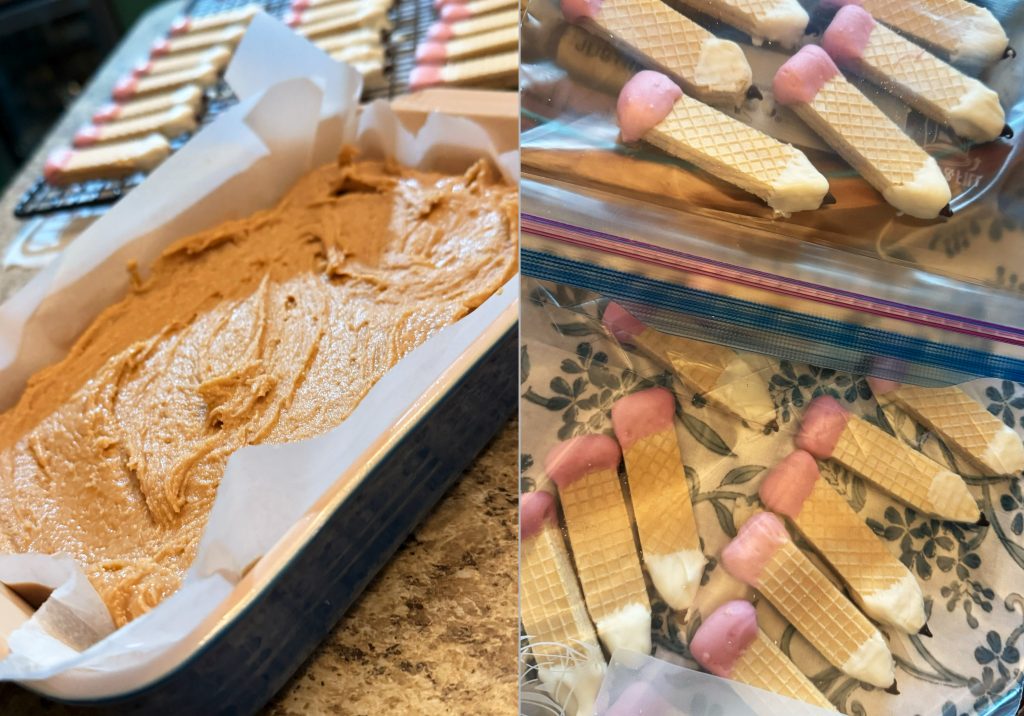
Any Ina Garten (The Barefoot Contessa) fans? Her old assistant Lidey Heuck has a new cookbook out, which I love. Speaking of which did you read Ina’s new memoir? I listened to it – she actually reads it – and loved it! I digress, especially as this Lidey recipe is from The New York Times. It’s so easy, I’ve made it twice in the past month and plan to make a few more times over the holidays as it will be great to take to parties/as hostess gifts.
Easy Peanut Butter Fudge
1 cup unsalted butter (2 sticks), plus more for greasing the pan (I simply sprayed the pan)
1 cup smooth peanut butter (not natural)
1 teaspoon vanilla extract
¼ teaspoon kosher salt
3 cups confectioners’ sugar, sifted (I forgot to sift, and was still happy with it)
parchment paper
plastic wrap
- Grease an 8-inch-square pan with butter, or spray. Line the bottom with parchment paper, then grease the paper.
- In a medium saucepan, combine the butter and peanut butter. Cook over medium-low heat, stirring often, until melted and smooth, 3 to 4 minutes. Do not let the mixture come to a simmer. Off the heat, stir in the vanilla and salt.
- Scrape the peanut butter mixture into a large bowl. Gradually add the confectioners’ sugar a few spoonfuls at a time (it’s a cool chemical effect, as it starts to bubble), whisking until the sugar is fully incorporated after each addition. After all the sugar has been added, mix well with a rubber spatula until smooth.
- Transfer the mixture to the prepared pan and smooth the top. Cover with plastic wrap, pressing the plastic to the surface of the fudge. Chill for at least 2 hours, until set. Use a knife to cut the fudge away from the pan, then lift the parchment paper to remove it. Cut into 1-inch squares. Store fudge, covered, in the refrigerator for up to 5 days or freeze for up to 2 months. To freeze, wrap individual pieces with parchment or wax paper. Wrap again with aluminum foil, then store in a resealable freezer bag. (You can also wrap the whole sheet of fudge before slicing, wrapping as you would with individual pieces.) Defrost fudge overnight in the refrigerator. Here too, I do prefer to serve it chilled. Note, if you’re doubling (or more) the recipe, be sure to use your biggest bowl because adding the sugar really makes it grow and you don’t want powdered sugar everywhere.
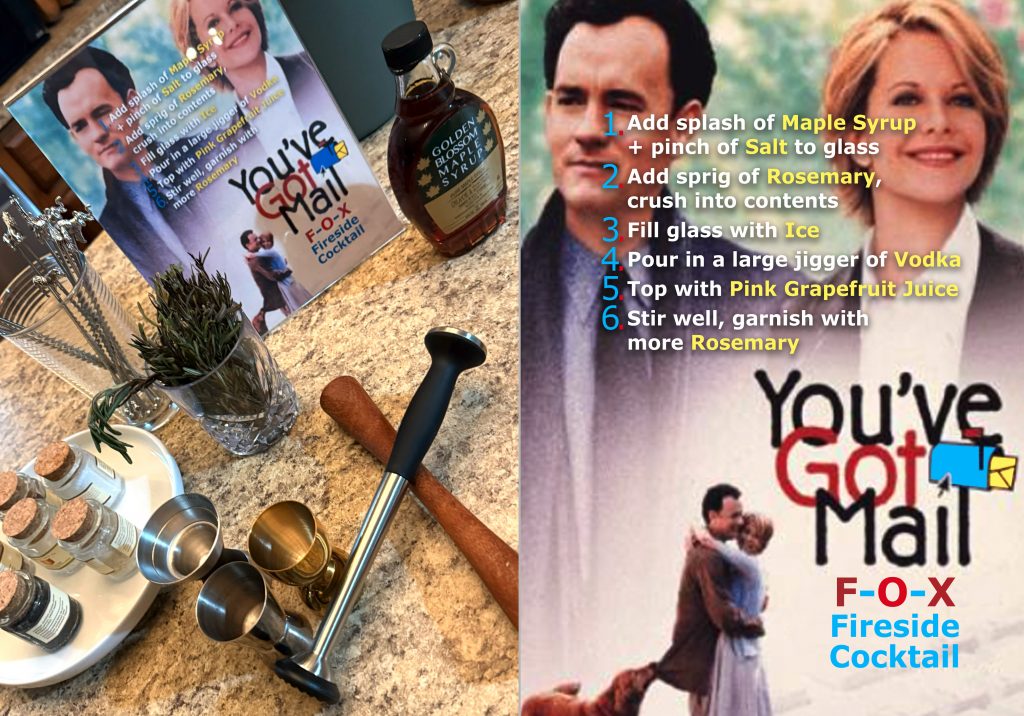
My friends love vodka and grapefruit combos, so when I found this autumnal cocktail combo, JACKPOT! Throw a little alliteration on it, and here’s the F-O-X Fireside Cocktail. I kept a bunch of plastic sign holders from the shop, but you could put this in any 8×10″ frame that you have around your house.
F-O-X Fireside Cocktail
maple syrup
fancy salt (we discovered this brand in Portland, Oregon and love it!)
fresh rosemary
ice
vodka
pink grapefruit juice
muddler
jigger
Phew! We made it. As with all of my things, longer than intended, BUT I hope having all of the recipes in one place and not having to keep 5 tabs open is helpful. Let me know – would love feedback: liz@lizscottdesigns.com.
SHOP WHERE YOU WANT TO SHOP FOR THE NEXT YEAR, AND THE YEAR AFTER THAT, AND THE YEAR AFTER THAT!


